Showing posts with label perspective. Show all posts

October 23, 2017

Another busy week of art

My classes at Atelier Artista run everyday Monday - Friday. 
Drawing begins at 9am - 12:30 and Painting classes begin at 12:30. 
I also teach at other times throughout the week and on week-ends.
 On Wednesday Evenings, I regularly host figure drawing, find out more here: https://www.atelierartista.com/figure-drawing
Above is my drawing from last weeks Wednesday evening session.
 I was asked to hang some work at Holy Grill across fro MEC, They sent me the picture above.
 I got on the front cover of MRU's "reflector" newspaper for a course I've been building in creating Graphic Novels and comics. Read the article here:

http://www.thereflector.ca/2017/10/07/calgary-artist-brings-graphic-novels-alive-at-mru/


 On Friday's, after my "Full Figure" drawing human anatomy course I teach an afternoon elective at Waldorf School. Above is the project the kids accomplished this week.
 The "Keys to recovery" exhibition was a huge success.  3 of my students sold their work at Auction!!! Above is the curator with a piece by Aaron Sidorenko.  http://aaronsidorenko.ca/
 I got to pick op 4 works made by friends and hang them in my studio for the time being.
 I teach at ACAD in during the week in the evenings and two classes at ACAD on the week-end.
 In Drawing 1 we are working on creating the illusion of depth and form on a two dimensional surface. I cover concepts including orthographic and isometric projection.
 As we work towards graphical and linear perspective, 1 point and beyond.
In my Arts Academy we finish the last day of our drawing portion with a self portrait and measure of the face, before we move into paint.

It may seem like a lot, but variety is the spice of life.

There are so many interesting and creative things going on everyday in my life and at Atelier Artista. If you want to find out more, take a class, come draw figure on Wednesday nights or anything like that check out AteleirArtista.com and sign up for the newsletter for more updates!


March 8, 2017

A bunch of fun and interesting stuff

I have all sorts of goodies here, starting with some whiteboard notes from my Monday evening cartooning class at ACAD. Here is my ACAD classroom before the students arrive.


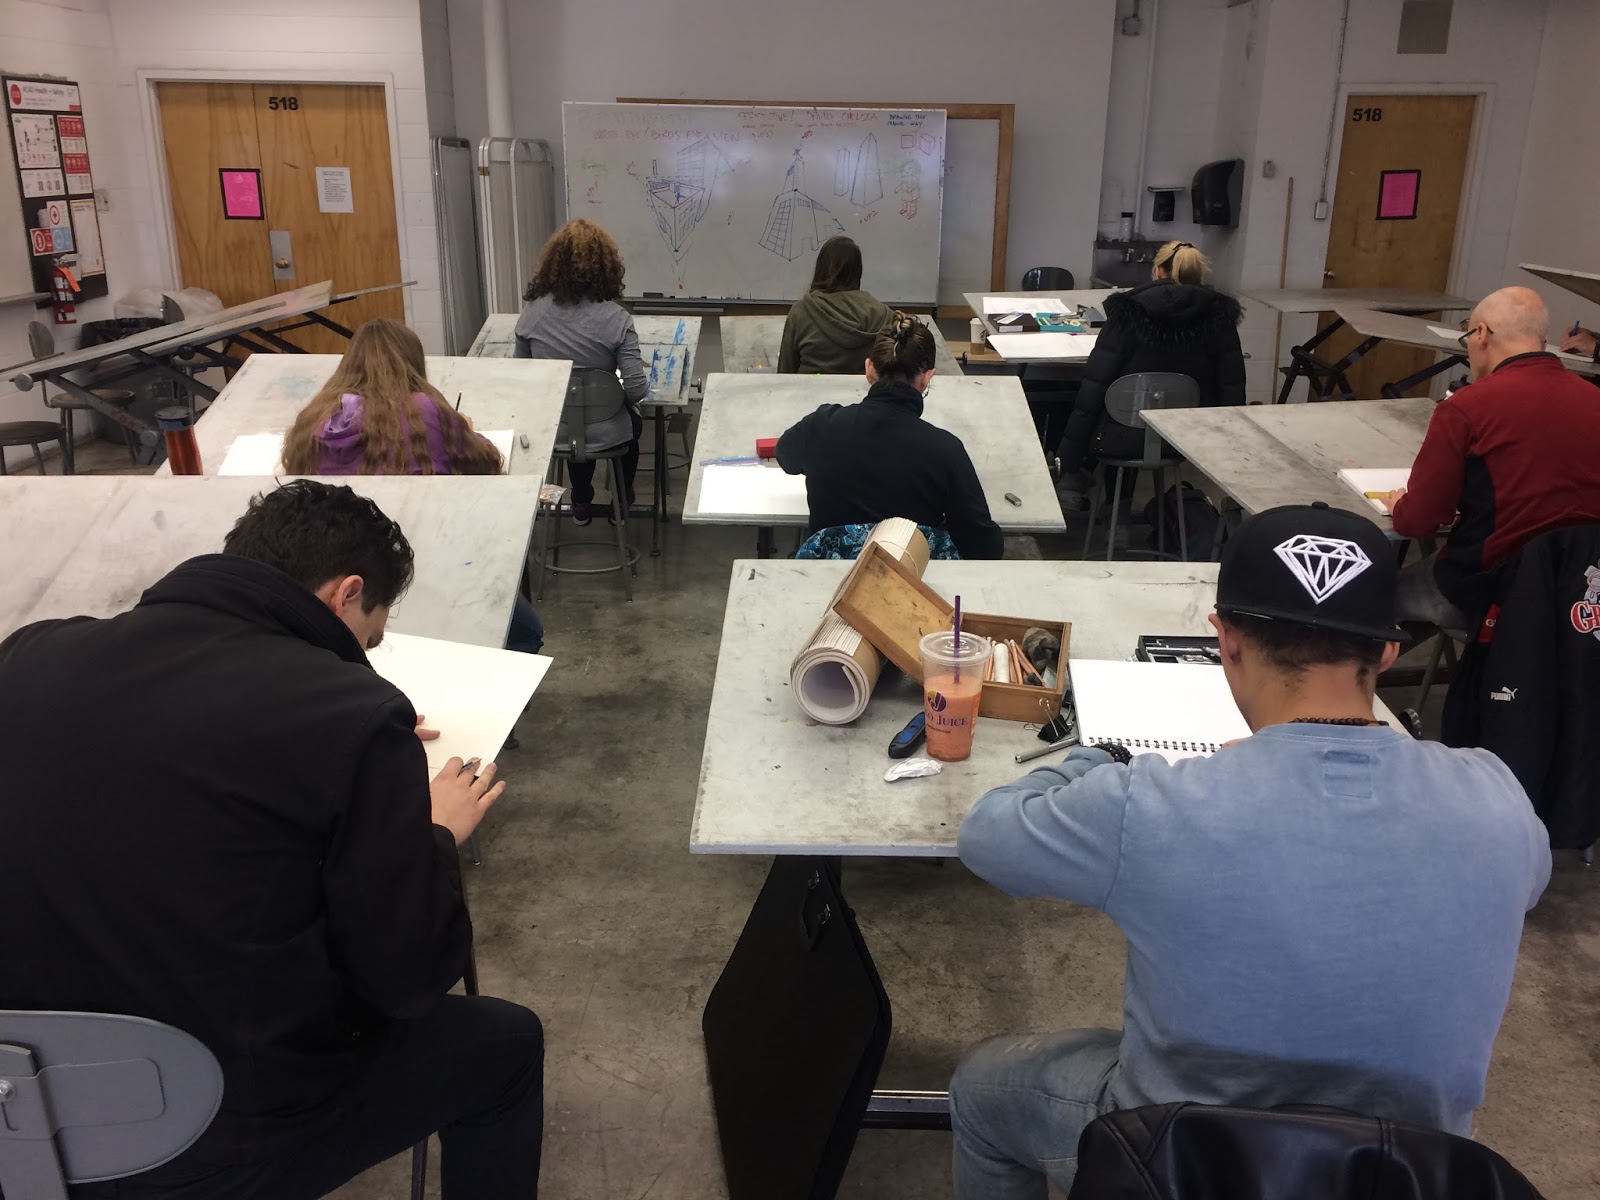
And the other direction from my Drawing 1 class on Saturday working on perspective


 At my atelier (http://atelierartista.com) I have a whole bunch of great courses in drawing and painting you can take, visit my website for more info and to sign up HERE.

 We are working on portraits for the upcoming peoples portrait prize at cSPACE King Edward.

I also have a figure drawing evening at ACAD and on Wednesday evenings at the atelier as well as anatomy classes, here is a glimpse of some of the demonstation notes.


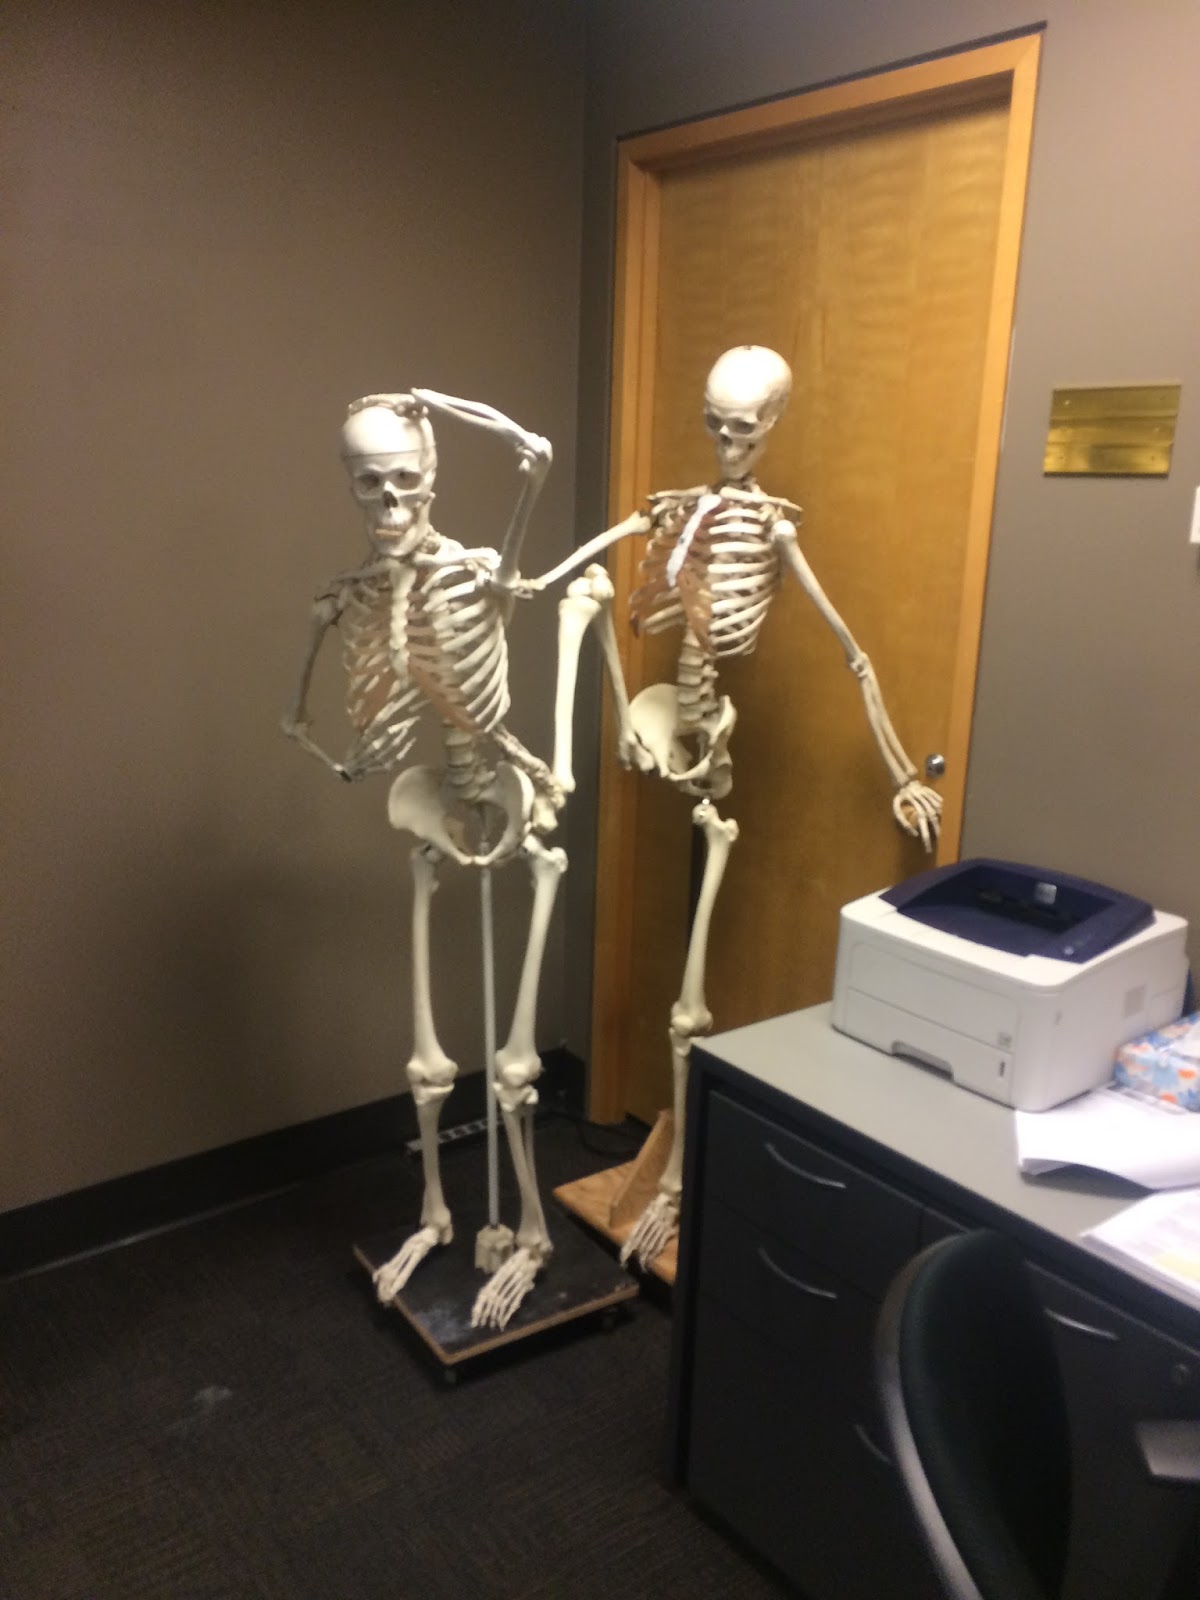
 I left a little skeleton surprise for the gals in the Con Ed department after leaving my figure drawing class for the evening.
 It looks like one is about to be kicked to the curb hard. lol.
After all, it's good to keep life and art a little lighthearted!

March 9, 2015

Many jobs, many hats, it's monday mish mash

In an effort to save up for my trip to Italy and keep productive and out of the house, I've been working triples. Wake up early, get home late. I taught after effects all last week to grade 9's at one of the CBE art schools. I hd 6 lasses of 30 or more, it was brutal but the impossible was accomplished. I am also teaching all my regular classes as well as working on a mural with Martinho plus I have some commissions on the go see a sneak peek below.
My kitchen table has become a make shift studio once more until I figure out an alternative space.
I do love painting anatomical hearts this way.  I have also keep up a very fulfilling and busy regiment by teaching on my only free day off at Swinton's. Alas, there won't be another for a few weeks but I do love the samplers.
I paint neon pink on all my sampler supplies in the case somebody gets into my stuff. I do a big into at the start and then we mix colours to see how the pigments behave.
I love colour so much and I am always amazed at the colours the participants choose to create during this part of the session.
 We then select an image to pant and go about blocking in the large areas of colour. I love it when the background colour shies through. This landscape is very enticing to me.
 Here is one more refined, all the leaves etc were done with the tip of a palette knife, I really like this artists style and choice of colours.
 Here is this lady's first sunflower painting, she brought her mom who also made a nice piece that day.
 In our cartooning things got wiggy by the end as I crammed tons of perspective drawing techniques and exercises into my 3 hour tour.
hat was really hard but I always aim to please. I hope to deliver the most amount of education I can so that artists walk away having learned so much they can keep running on the fumes for a while and what they learn they can carry with them as important techniques and tools for their artistic success. When I get another break there will be more to come. All work and no play make Jack a dull boy. But not me,  I'm not sure I'll ever be dull.


August 15, 2014

Drawing 1 - whiteboard notes

We are nearing the end of our drawing 1 course at ACAD this summer. It is sad, however I have witnessed the students improvements by leaps and bounds during the duration of study. They have been given their final assignment for next week and we covered some points that were missed from previous perspective class and some stuff to help them work on their final self portraits.
We covered ellipses and circles in perspective as well as how to construct cartoon hands based on the Preston Blair method as a gateway to more easily construct realistic ones. We also looked briefly at difficulties drawing the feet as well as a bit on foreshortening as these tend to be difficult when drawing from life.
To accompany the note packets I handed out, I gave a lecture on constructing the head in profile and facing forward and some of the rules to know and pitfalls to avoid.  Most people put the eyes too far up and don't give enough space for the skull and brain. Really the eyes sit halfway down the head, though it is the tendency when starting out to have them too high, which makes the face look neanderthal.
I think it was the hair, that caused me to add the moustache while keeping the mood of the class on the humorous side, after all, Hitler was an artist, right?!

I also did a demo on how to draw and eye properly and all the little tricks to move them away from drawing almonds or ovals and what to look for in shadows and how to create sparkle and depth in this most important but inset part of the face. The eyes are the window to the soul so it is very practical to focus on representing the eye effectively.
I did a quick demo before introducing the exercise of how to plan out and tackle a portrait.  I am really starting to notice how the traditional techniques are prevalent in all forms of drawing. Establish the limits of the page and plan the composition. Find a strong vertical, whether it is for perspective, life drawing or anything else, we are prisoners of gravity after all. Then find some horizontals then work with proportions, the second most important lesson for drawing realistically. The first rule is: draw, draw, draw or practice, practice practice. The students tackled the assignment extremely well in the time given and I am very happy with their progress and look forward to next weeks critiques.


July 24, 2014

Erase me. White board notes from my Teen cartooning class.

I may hate drawing with white board/ dry erase markers but I sure do love teaching, so if thats what it takes then I'll battle the materials.  Here are some of this weeks white board notes from my Teen cartooning Camp at the Alberta College of Art and Design. In the past few days we have covered a lot. Tomorrow they will be finishing and presenting their final pieces for critique and I can't wait to see what the final products look like.
Here is a simple revolver in 1 point perspective and below showing how to construct a car using boxes in perspective. The board gets so dirty that the markers erase the layers as they write, time for a good wipe down.
We did a whole day where our goal is to describe form that appears 3D but is drawn on a two dimensional surface, our sketchbook paper.  Drawing creates an illusion after all.

We covered all the types and methods for drawing forms in space, including isometric projection and perspective drawing. Above is my kitchen interior in one point perspective.

We did some 3-point perspective afterward (worms eye and birds eye view) It is a little bit more difficult but it is incredibly useful for cartoon and comic artists. We also went over foreshortening and  how to draw ellipses,  and circles in perspective using only straight edges.
We also focused on the figure and superhero poses using a 5 step development process. The notes didn't get complete as I was going around and working at each and every students station based on their individual needs and then the day just seemed to evaporate in to the class ending.

1. Sketch a skeleton in the position you want with the desired proportions
2. Flush out the forms using simple shapes like cylinders
3. Refine the details, clothing etc.
4. Ink and erase the pencil lines
5. Shade and create form on the figure


We also drew a variety of hands using a few methods, including the Preston Blair method of simple circles which is really quick and effective to learn. I've drawn tens of thousands of hands this way. We then went into the anatomy of the skull and how to draw and create faces.

We spent a the better part of class figuring out layout and panel designs. This was by far my most fun set of teaching notes of the week. Not only that it is packed with useful information!
 This is a sketch one of the students did that was just so simple, elegant and beautiful I asked permission to take a picture to share with you here. Isn't it awesome?! I love it, it communicates everything it needs to with so few lines.


April 13, 2014

Feral art show piece

This busy buy bunny can now see the light at the end of the Tunnel.  Meanwhile, in the midst of business I managed to crank out another thematic piece for my good friends the "Gentlemen Destroyers" for their "Feral" group exhibition at the White Lodge Gallery.  Each artist was selected three things. An life form, an object and an activity.  I got a Squid, a Meat Grinder and Dancing.
The Gentlemen Destroyers are great guys. Jim Laing, my old studio mate when we were at ACAD, dropped off the panel they build for each artist.  I gathered my planning materials and got to imagining.
My first concept is to have the squid going thru the meat grinder as the tentacles remind me of how hamburger would come out the other end. So I begin drawing to get a general composition down.
I realize, in order to get this right I may need to work out my perspective a few times. It took me about three tried to get it how I want it. I then transfer this mock up to my other paper.
Here is the basic design after transferring. To transfer: I rub the back of the sheet with charcoal, and redraw over top the drawing pressing down hard in order to transfer the charcoal to the new sheet of paper. This is the same technique I will use to transfer the final drawn composition to the blank support.
Now I can draw in the squid and its tentacles. This plan is coming along nicely. I decided that with this piece I needed to have it well planned in order to tackle it efficiently and effectively as I don't have a lot of time to work on the painting due to how busy I am finishing up the 5 month Aboriginal Youth Animation Project screening.
I transfer the drawing and use spray fixative to lock down the drawing so that I may paint it without losing my plan or getting the charcoal in my paint. Unfortunately, this magic step is also extremely toxic :(
I decided to use Acrylic because of the limited time and its ability to dry quickly so I can add layers almost immediately. I also have colours and metallic pigments that are still unavailable in oil. Here you can see how reflective the silver acrylic paint is.
I have to give a second thick coat of the squid colour before doubling up on the iridescent silver. Then I add some shading and shine and paint in the squids eye and the handle on the meat grinder.
I paint light and shadow  onto the squid to give it a sense that it is a 3 dimensional form and pattern. It is starting to flush itself out now.
I add a bit more textures and a spotted pattern to its skin and rub in some iridescent purple sparkles over its surface so that in the right light it sparkles a bit.
I add in his sticky suction cups using a light colour and outlining with brown sharpie marker. So I've got the squid and he seems to be doing some crazy moves as he goes thru the meat grinder, but the dancing bit isn't implicit enough.
Here is the finished piece. 

The final step was  to paint in squid dance step instructions to the background and sign it in gold. I love all the pattern and how this piece came together in the end. I am proud of this piece and it reminds me where I should continue to be  putting my efforts and energies into creating art. I know a lot of people including some of my students came down to see the show, thanks for that!

Update: It sold and I know it went to a good home. Shout out to Sabo Forte for grabbing this piece up!