Showing posts with label notes. Show all posts

April 19, 2017

A dozen things from this past week

Well I didn't know exactly how to contextualize the juxtaposition of these images together. In order to improve our skills, we study a lot of different things every week at Atelier Artista. The images below are from various classes throughout this week. On the off chance I don't forget to snap some shots or  I'm not running around, instructing and/or creating work this is what you get.
 Before the long week-end began, I was tasked by the visiting artists in residence (Daniel J. Kirk and Katie Green) to create a drawing in response to the work "Mermacorn" made up by another cSPACE tenant. This is my preliminary sketch before tweaking and adding a dash of colour.
 I demoed these hard edged shapes in my" Open studio sessions" on Easter Monday.
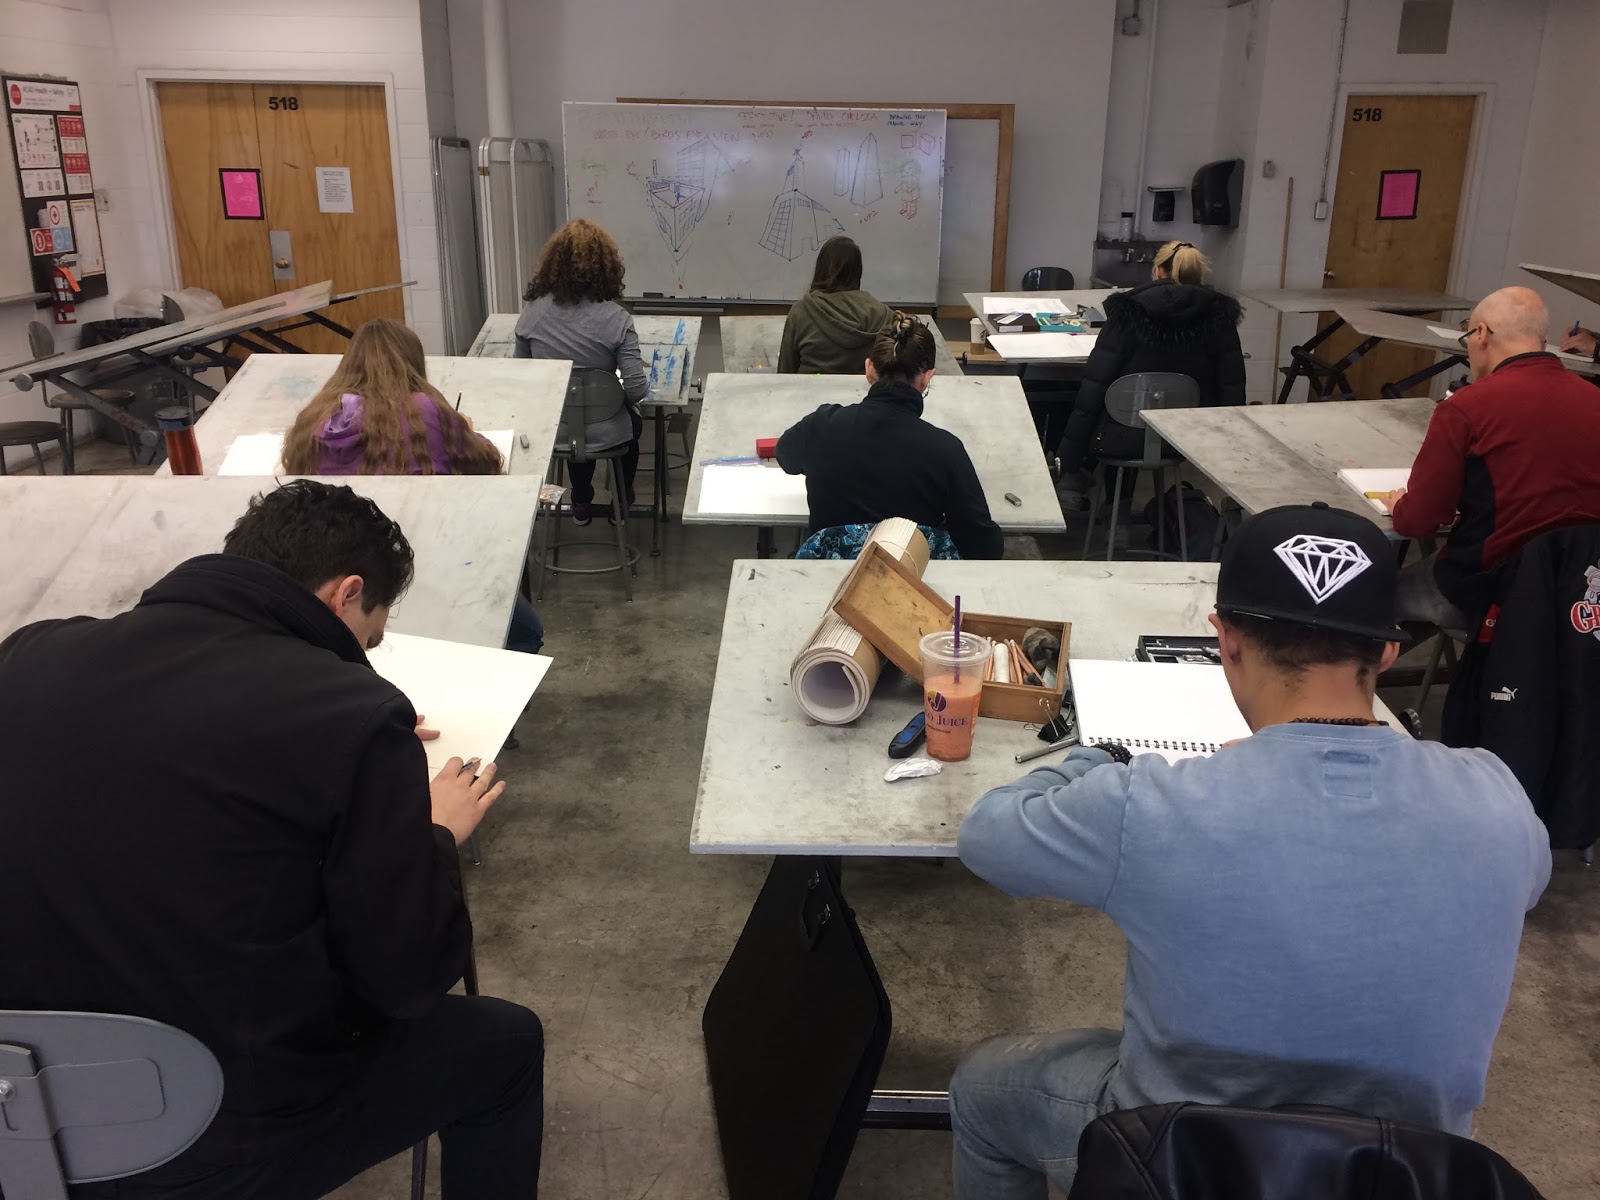
 Here is the class room set up, the drawing horses in a half circle horse shoe shape.
 Some notes I delivered on the board while teaching the portrait students the nuances of what to look for when studying the anatomy and drawing the nose and mouth areas.
There is a lot here to cover.
 I like the ability to colour code a bit with chalk.
 Adding many points to observe as I go on with the lesson.
 I transitioning between notes on slate and the actual practical application of drawing medium on newsprint.
 Here is my handsome friend John Asaro head showing the facets and planes under lit conditions.
 And here is how makeshift studio conditions can be when working :P
 In the oil portrait class the students are adding details as we will be starting a new portrait in May.
 The students brought various objects for still lie class, as weird as it is , it is a puppet so I let it slide to add a bit more fun to the day.
 In anatomy of the figure class on Friday we are working on very muscular legs with a lot of definition. There is a whole lot more interesting stuff and fun going on all the time down here at ATELIER ARTISTA, Dont miss out, come on down and study with us as new sessions begin this May!

http://ateleirartista.com


March 8, 2017

A bunch of fun and interesting stuff

I have all sorts of goodies here, starting with some whiteboard notes from my Monday evening cartooning class at ACAD. Here is my ACAD classroom before the students arrive.


And the other direction from my Drawing 1 class on Saturday working on perspective


 At my atelier (http://atelierartista.com) I have a whole bunch of great courses in drawing and painting you can take, visit my website for more info and to sign up HERE.

 We are working on portraits for the upcoming peoples portrait prize at cSPACE King Edward.

I also have a figure drawing evening at ACAD and on Wednesday evenings at the atelier as well as anatomy classes, here is a glimpse of some of the demonstation notes.


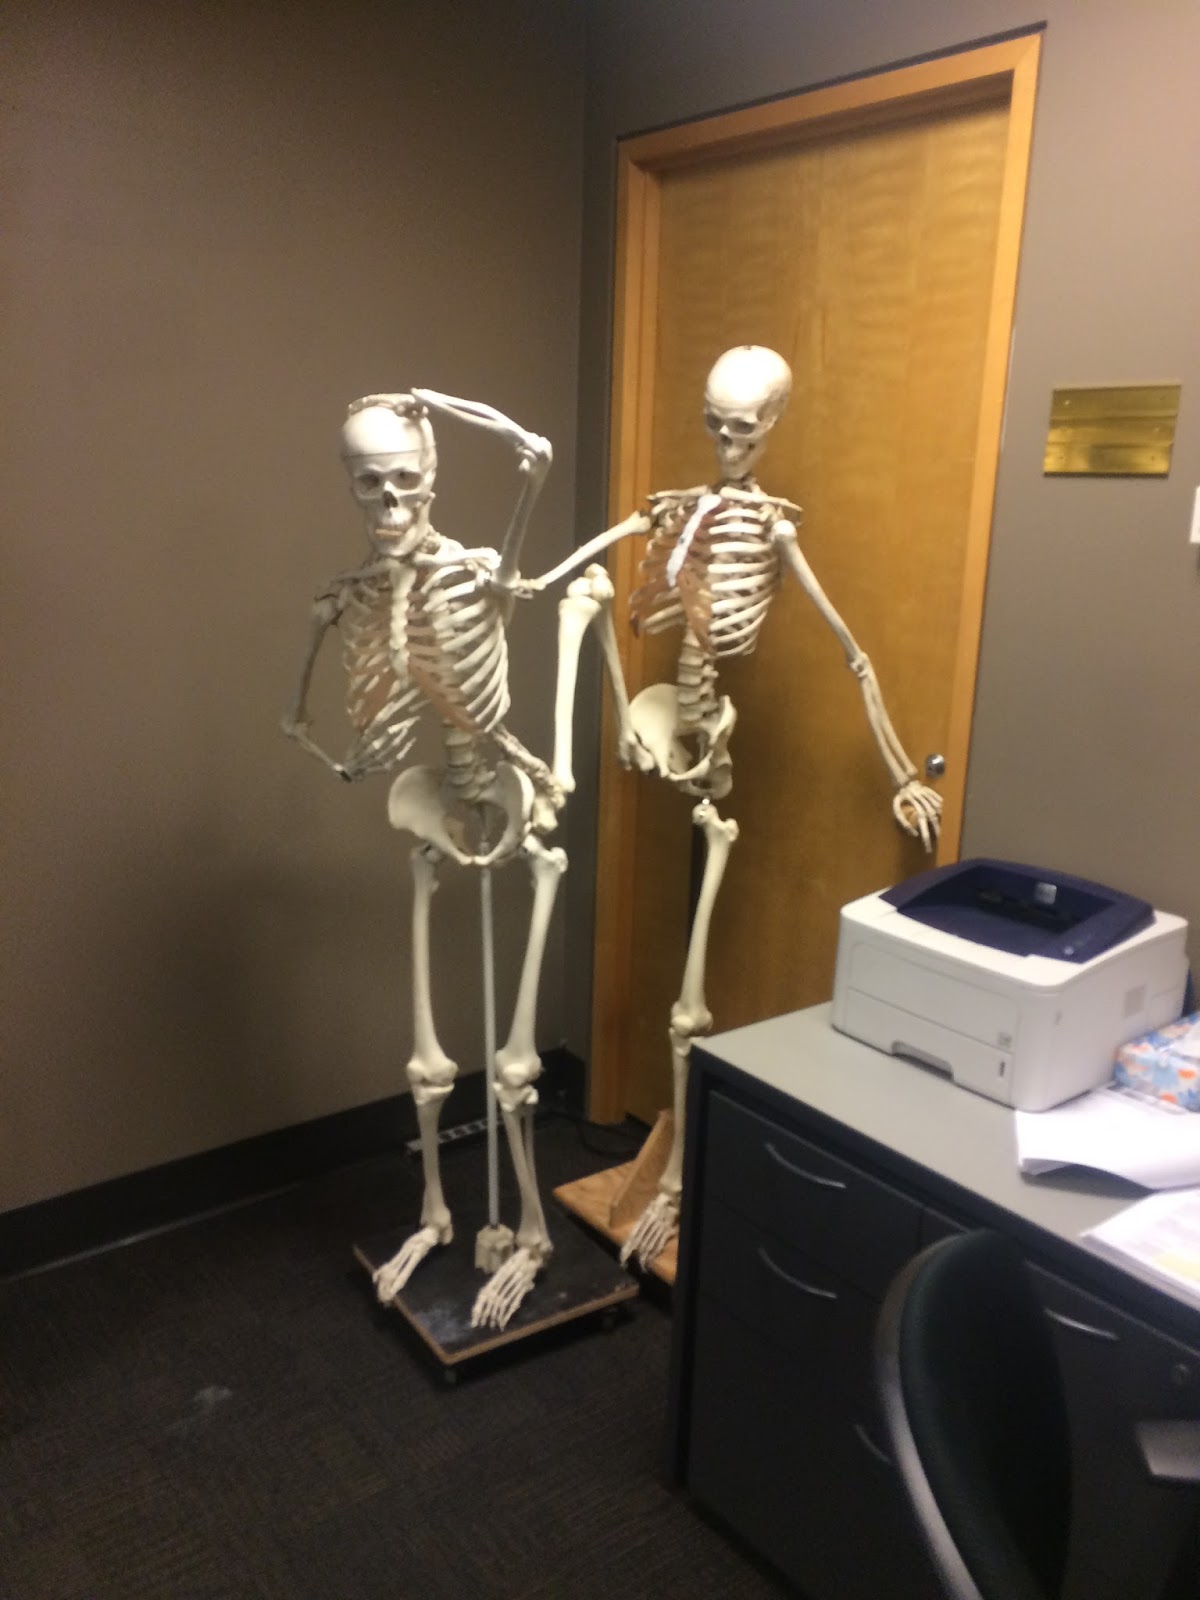
 I left a little skeleton surprise for the gals in the Con Ed department after leaving my figure drawing class for the evening.
 It looks like one is about to be kicked to the curb hard. lol.
After all, it's good to keep life and art a little lighthearted!

December 8, 2014

Stop motion set fabrication class review

For my "partner in crime" in this class, Soha who has unfortunately been under the weather, which always sucks.Ii have been sick myself and not feeling up to the high standards I aim to keep. I know she regrets missing the class as much as we miss having her participation. Also to the the rest of my beloved students in hopes it helps remind them in some part of all the things we covered since we were without equipment to film the process for future reference. Also, as always my blog is for anyone and everyone out there who loves to learn more about the stuff I am so passionate about. So on with the show….
First I gave a general overview of the lecture. We discussed how to set up the table before and set up the camera and choose lenses we begin construction of the set pieces. The most important thing is to have a space and table that doesn't move. A good animation table is steel and sandbagged to fastened to the floor. You can top any table with a 4 X 4 piece of 1 nice plywood raised and fattened to 2 X4's. You can drill thru your table directly and skip building the platform if you can reach underneath and drill thru it to attach your tie down screws.  Remember when planning, framing the shot and building your set to try and best match your storyboard plans.
You probably have a lot of the tools you need for this portion but there a re a few good things you'll definitely need when working with the various materials such as rigid or floral foam. I got my folding japanese Dozuki from Lee Valley. Its a dangerous store to go into if you one tools as much as me, they have a great online service where your an order first then go in quick to pick up and get out before you break the bank. Have a good knife and scissors and a bunch of tools you've already been using for other projects in the class. Set building and fabrication is a huge subject and really depends on your goals but I attempted to cover some blanket techniques that are useful to everyone no matter what their end scene may be.
first we used cheap materials like foam core and cardboard to block out the elements and to see what scale they may be for their placement and how they look on camera. I can't emphasize the importance of preplanning. It'll save you time and money so don't skip this step.  I explained the idea of constructing islands as they are extremely versatile. The basics are make them on a surface like wood that can eventually be fastened to the table, yet they can be moved around and used to cheat shots since they are mobile. You can use a variety of materials like rigid foam, wood, papier mache, clay, plasticine etc to build them. Fasten them to the wood base for greater stability.
After a demo and giving the students some time to build elements we moved onto the next section which is to paint and texture their creations. This is one of my favourite steps and really adds to the quality and realism of the set elements. You need to know your products so that you can get the look that you want and so that the surfaces stick and hold up to the rigours of shooting. On the board are the steps we followed throughout the hands on demonstrations of various set piece examples.
These are the main products I use and they really aren't that expensive. To the far left is my new favourite spray adhesive by 3M, I picked it up at home depot and it is far superior and much cheaper than the stuff one can get at art supply stores. Then glue, and any glue from the cheap white glue to modge podge and/or wood glue is fine. I have my satin or matte medium from Golden for sealing and applying pigments. Pure pigments from pro tints. They are expensive but go a long way. You can also use any other paints you are comfortable with, like acrylic but you need to know the process and how to ensure they adhere t the many materials you may be using on your set construction. Some effect finishes to the right which patina silver and then baby powder or other release or anti tacking material.
this was a quick example I demonstrated with. carved foam with dollar store stir sticks, some paint effects after giving everything a hard sealing coat made with white glue mixed with water. The sphagnum moss and flocking give it an aged look. I did some splatter paint and marbling effect as well as dragged some halloween spider webbing across the gate.
Here are some other examples I used, a foam core silhouette piece to get the proper size for creating set pieces though arguable this can be used in the far background of a shot if need be. I created a fence piece with dollar store stir sticks and floral wire. The fun fur was an example of how to adhere it to the foam and stain it quickly for a more realistic grass look. I would recommend tan fun fur instead of the scrap of bright green, as the roots of it after painting will resemble dirt and look more natural on camera. We will continue with more examples for foliage, and how to cast and set up the backdrop and more when we reconvene for next weeks class. Ciao for now :D

August 15, 2014

Drawing 1 - whiteboard notes

We are nearing the end of our drawing 1 course at ACAD this summer. It is sad, however I have witnessed the students improvements by leaps and bounds during the duration of study. They have been given their final assignment for next week and we covered some points that were missed from previous perspective class and some stuff to help them work on their final self portraits.
We covered ellipses and circles in perspective as well as how to construct cartoon hands based on the Preston Blair method as a gateway to more easily construct realistic ones. We also looked briefly at difficulties drawing the feet as well as a bit on foreshortening as these tend to be difficult when drawing from life.
To accompany the note packets I handed out, I gave a lecture on constructing the head in profile and facing forward and some of the rules to know and pitfalls to avoid.  Most people put the eyes too far up and don't give enough space for the skull and brain. Really the eyes sit halfway down the head, though it is the tendency when starting out to have them too high, which makes the face look neanderthal.
I think it was the hair, that caused me to add the moustache while keeping the mood of the class on the humorous side, after all, Hitler was an artist, right?!

I also did a demo on how to draw and eye properly and all the little tricks to move them away from drawing almonds or ovals and what to look for in shadows and how to create sparkle and depth in this most important but inset part of the face. The eyes are the window to the soul so it is very practical to focus on representing the eye effectively.
I did a quick demo before introducing the exercise of how to plan out and tackle a portrait.  I am really starting to notice how the traditional techniques are prevalent in all forms of drawing. Establish the limits of the page and plan the composition. Find a strong vertical, whether it is for perspective, life drawing or anything else, we are prisoners of gravity after all. Then find some horizontals then work with proportions, the second most important lesson for drawing realistically. The first rule is: draw, draw, draw or practice, practice practice. The students tackled the assignment extremely well in the time given and I am very happy with their progress and look forward to next weeks critiques.


December 30, 2012

Notes from Martinho's workshop

During some New Year's clean up I deleted a bunch of files containing my notes from MArtinho's painting workshop last spring.

Here they are in their entirety:

Painting workshop

Day 1

Burnt umber and white value of 6- cobalt drier and solvent
Solid shadows

Calcium carbonate (marble dust) to make whites opaque. with titanium to help give it more umph 1-0.85

Shadows - black and yellow ochre

Background mid tone - black and yellow ochre and a touch of emerald green

More solid shadows and background
Blueish ground blur the line between the two

Peek thru a finger hole to get color relationship to flesh palette!

Flesh - red umber and white
Blend the meeting line a bit

Fill in other mid light tones

Palette & flesh ball!
White, yo, red, Indian/venetian, (make an orange) then add white for flesh, red umber, burnt umber , raw umber, black

---------
Day 2: fall of light

Dark at bottom of legs paint up like a flat cardboard cut out.

Shade the background and floor

Bought a litany of 50 cent brushes and got a free travel case.

Photo demo in the afternoon.

Head photo, 25 cm.
Printed out in colour.

Priming a canvas with big car wash super sponge and lead white paint.

Light sand - wipe off with a damp cloth.

Bring painting home and leave in warm truck can to speed up drying time.

--------
day 3

Demo
Oil in, first painting, model the largest forms in the round

Lesson of the day:
More paint!!!
After all (paint is cheap)

Background
Punching shadows a bit
Lighten up the background

------

Day 4

Oil in- this process is done onto dry oil to bring the color back


Fairfield Iowa- marahashi

Scottish portrait painter- sir Henry Raeburn

-----

Day 5, work one area with second stage painting.

Working on legs, bumping up the chroma using more Persian once it is pulled out can see the uses of a more closely resembled hue

campatura-wet sand the poison surface and Rubbed in thinned burnt umber.

You got to know when to quit,

I'm happy where I'm at, time to quit while I'm ahead.

last day of the sale, I succumbed to some more purchases!

Tab aret - rolling cabinet.
----


Things to buy:
Cobalt drier
Buy a color and tone chart
For reference and photography

Black mirror. Red plexiglas or other optical enhancer.

Good brushes: Rosemary and company. England. Mongoose finishing, series 276 finishing.

Download: the book of wealth


--------------------------

Painting workshop - week 2

Starting a new portrait

1) Tracing with high and low points, small straight lines rather than curved ones that are inaccurate

2) Charcoal the back of the tracing paper. Align the tracing to layout the composition. Trace back over on top of the line to transfer the outline to the support underneath.

3) block in shadows, burnt umber and white! First draw in the lines with. The paint thinned with mineral spirits. Then begin dead coloring. Starting With the shadow.

3) followed by the midtone in the lit side. Fill in the background mid tone.
Made of flesh tone (red + ochre + white) plus some Red Umber. The background is black with  yellow ochre and a bit of white. The background tone could have been thicker but I will be going over it again.

----lunch break

Printed out a black and white reference at home

Traces, Transferred and inked.

Put in the dead coloring, major shapes of shadows and lights.

Background and cloth blocked in.

I really like working on the texture of the prepared surface.

---------------

Big form modeling
Basic flesh color
But turning
Planes of the head
Red umber and white is a good place to start near the bed bug line
A little bit lighter than the shadows
Just a bit of 3:1 medium

Making the head into a flesh ball

--

Have two turps one for first clean and another for second back into paints that is cleaner.

More chroma, guard against inadvertent greying of the tones.

=======
Week 2 - day 3

After big form modeling work on the planes of the face

Oil in both canvases and set up my palette put about an hour setting up making tones to work from and finding the shifts and planes. Pic of palette

Worked on piece until the lunchbreak.
Then, excitedly ran over to the holy smoke for a man which sandwich and some fantastic chili con carne, stuffed, drowsy and needing some java I continued back on my girl portrait doing the shaping of the larger planes.

Went back into my self portrait and worked on creating some form in the shirt. That button sharply grabs the attention.

---------

Week 2 - day 4

Regular start, oil in, chat, 1 damar : 1 oil.

The most important thing I've found laying out the palette.

Revising the shadows for the girl, really starting to "see" the values. Mixing Persian red straight in, surprising how much oil can handle.

Doc: why beauty matters. Culture counts, book.
Local color - movie
--
Caesar santos - Cuban American in Miami

----

Final day of workshop,

Oil in,
Rework the girls face cause I like torturing myself to understand this value scale and palette system.


Chateau artiste
Krauser P U A

Finding it challenging
Now it's starting to come together
Build you up and break you down
Process - be a man!

lunch time - helped Darryl with his HD camera here is the empty classroom at lunch.

Charles Bargue book
 on amazon


- kept working,

Broken colour background:

movement of tone in background,

Mix up 3 values: low, mid , high (big middle circle (first shot)

Break the colour into yellow and blue and mix both a higher chroma and a lower chroma of both
Ex: low chroma blue add a bit of black and maybe some white. Yellow is raw umber.


---

June 29, 2010

More notes than anything else

I do a ton of writing. 3 pages everyday in the morning and now and again in my sketchbooks. It's good to always have a sketchbook on hand to keep those interesting ideas and notes. I also carry a small moleskine weekly day planner in my back pocket where I write down movies, and websites and things to check out when I get home or on the net, even books to take out of the library.

I also have a habit of writing on my hand.

Ballpoint works great, Sharpie not so good an I noticed my copic's tend to wear off by the time I get home erasing any notes I've made throughout the day;(

 Here are some notes I got out of a library book on how to clean linseed oil for oil painting.

This is basically a Home Depot shopping list for making some automata toys.