April 21, 2014

Never stop improving your technique

Practice does make perfect. With art you've got to practice, practice and practice some more.

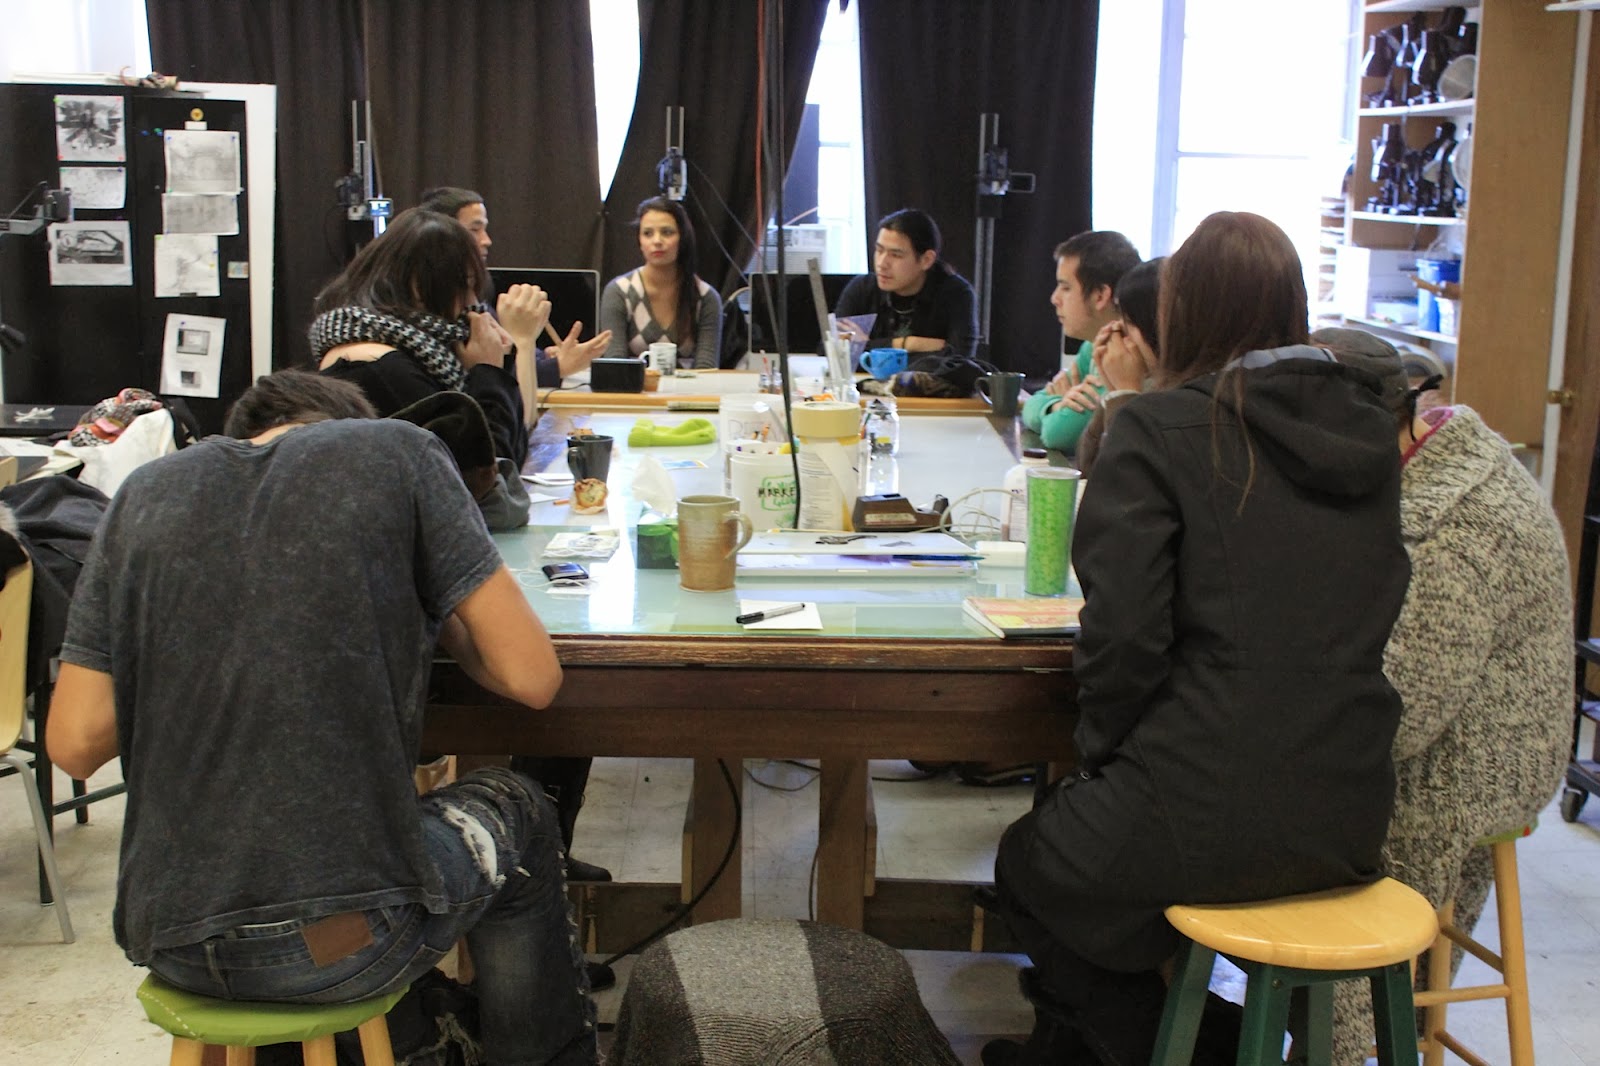
I know I need to put in more quality time to get to where I want to go artistically. I am taking another 3 day workshop with Martinho Correria titled: Studying the figure through the Masters at the Calgary School of Art at Cactus Arts Supply store. Check out their respective website for more info. Its nice to see some familiar faces as well as many new ones for this intensive in classical atelier methods of instruction. I love the private training, you always get pushed beyond the levels and learn so much, making the price worth every penny. I highly recommend these courses and others like them at Swinton's Art Supply etc. if you really want to learn artistic skills and techniques directly form those in the craft every now and again I ma delegated at the opportunity to improve my skills as a student and devote some time to improving my practice.
After the first lecture we worked on tracing gesture type drawings from old masters works to get a feel for the essence of "gesture drawings". It is challenging to remove what you know and previous skills and learn to work a different way. These gesture drawings are meant to be simple ways of conveying the weight and feeling of a model and freezing it into a moment as models tend to move even when posing for a long time. This means you have to learn to capture the feeling behind the figure being drawn.  We traced a myriad of figures done by different artists for reference.
We learned how to properly prepare a pencil and how to hold it for this type of drawing. This one was plastic composite and not wood, I was fooled at first, until I got my exact blade in it, it shaved weird. Then you make a point in the lead with some sandpaper and use smooth wrist and arm movements to create soft and curved S and C curved lines.
We practiced on a small Brague drawing example. First doing a gesture drawing to capture the feeling of the form and then moving into getting the basic shapes and proportions of the figure in place. I took additional notes during the demos to add to the invaluable handouts our instructor Martinho provided.
After a lunch of a delicious "Manwich" at the Holy smoke Grill across the street, I felt groggy with so much meat and bun in my belly. I set up my drawing board on an easel and set up the reference next to the paper another student was kind to offer me to try and work on. This pose is a little intimidating given how much time we had left in the class.
We worked on drawing our figure larger using comparative proportions. I think my guy is a little thick, in places, there is some definite tweaking needed before continuing onto the next stage. But I did manage to get the majority of the figure blocked in in the time given. I look forward to learning more in the next few days, we will see how things develop, I hope this interests you and you come back to check it out.

Ciao for now = :D

April 13, 2014

Feral art show piece

This busy buy bunny can now see the light at the end of the Tunnel.  Meanwhile, in the midst of business I managed to crank out another thematic piece for my good friends the "Gentlemen Destroyers" for their "Feral" group exhibition at the White Lodge Gallery.  Each artist was selected three things. An life form, an object and an activity.  I got a Squid, a Meat Grinder and Dancing.
The Gentlemen Destroyers are great guys. Jim Laing, my old studio mate when we were at ACAD, dropped off the panel they build for each artist.  I gathered my planning materials and got to imagining.
My first concept is to have the squid going thru the meat grinder as the tentacles remind me of how hamburger would come out the other end. So I begin drawing to get a general composition down.
I realize, in order to get this right I may need to work out my perspective a few times. It took me about three tried to get it how I want it. I then transfer this mock up to my other paper.
Here is the basic design after transferring. To transfer: I rub the back of the sheet with charcoal, and redraw over top the drawing pressing down hard in order to transfer the charcoal to the new sheet of paper. This is the same technique I will use to transfer the final drawn composition to the blank support.
Now I can draw in the squid and its tentacles. This plan is coming along nicely. I decided that with this piece I needed to have it well planned in order to tackle it efficiently and effectively as I don't have a lot of time to work on the painting due to how busy I am finishing up the 5 month Aboriginal Youth Animation Project screening.
I transfer the drawing and use spray fixative to lock down the drawing so that I may paint it without losing my plan or getting the charcoal in my paint. Unfortunately, this magic step is also extremely toxic :(
I decided to use Acrylic because of the limited time and its ability to dry quickly so I can add layers almost immediately. I also have colours and metallic pigments that are still unavailable in oil. Here you can see how reflective the silver acrylic paint is.
I have to give a second thick coat of the squid colour before doubling up on the iridescent silver. Then I add some shading and shine and paint in the squids eye and the handle on the meat grinder.
I paint light and shadow  onto the squid to give it a sense that it is a 3 dimensional form and pattern. It is starting to flush itself out now.
I add a bit more textures and a spotted pattern to its skin and rub in some iridescent purple sparkles over its surface so that in the right light it sparkles a bit.
I add in his sticky suction cups using a light colour and outlining with brown sharpie marker. So I've got the squid and he seems to be doing some crazy moves as he goes thru the meat grinder, but the dancing bit isn't implicit enough.
Here is the finished piece. 

The final step was  to paint in squid dance step instructions to the background and sign it in gold. I love all the pattern and how this piece came together in the end. I am proud of this piece and it reminds me where I should continue to be  putting my efforts and energies into creating art. I know a lot of people including some of my students came down to see the show, thanks for that!

Update: It sold and I know it went to a good home. Shout out to Sabo Forte for grabbing this piece up!

March 27, 2014

Why my posts have been few and far between….

I'm up sh*t creek without a paddle.

Well maybe it's not that bad, but the clock is ticking and we are getting close to the final deadline, our screening is this Sunday at 6pm at the Globe.

I have been devoting every day of my life, since November, to the Aboriginal Youth Animation Project. Its been an arduous journey of learning and challenges, but we are in the last few meters of the sprint and the finish line is in sight. For the past few weeks, I've been staying up late every night working on piecing together our screening and documentary reel. I also teach my regular load of classes on a few evenings and week-ends. I highly doubt all work and no play has made me dull, but I am looking forward to a mini break after screening the films.

Here is the Fast Forward Article about the program that came out today:

http://www.ffwdweekly.com/article/screen/film-features/first-nations-animation-11966/


February 28, 2014

Lucky Bunny Part 2

What I do with the Lego gift is the exciting part, and the extremely nerdy part. As an artist and animator I can't help but set up my gear on night and time lapsing the assembly of my new toy. What can I say?! Afterward I pump it into After Effects and use some of my skills in the digital realm to put it together into a pretty package, check it out below!
Enjoy!
----

February 20, 2014

One lucky Bunny!

Well today just got even better, My friend Joe and his Dad Dan popped into my work this morning to drop off an unexpected gift, and check out the wicked wrap job!
We hung out at Devonian gardens last night after work and talked shop, Joe is planning on making his own science show to carry on what he begun at Beakerhead this year. I mentioned my LEGO collecting addiction cause I shook the box and I could tell what it was, the surprise was even better once I opened it!
WHAT?!?!?!?!? A Volkswagon Camper Van kit!!!!! Way too awesome, I am so stoked it is going to be difficult to get thru work not wanting to assemble this, alas I'll have to use the force.
Here is a quick After Effects project I put together today as a demo and for kicks and QAS. Check it out. I don't expect it'll get over 50,000 hits like the the video I launched last week, but I'm not counting anyway. lol.  If you want to see the AF Satori animation check it out below.

February 14, 2014

Week-end update 2, but wait there's more

On friday night I bought a ticket to the Landscape demo at Swinton's Art Supply. When I showed up the owner, Doug asked me if I liked Vodka. That was a trick question because before I knew it I had slammed back a few too many screwdrivers and thus was a screwed driver in that I couldn't drive him. lol.
Neil Patterson gave a demo and wisdom session to a full house. It was fun watching him work the crowd while working the paint. He's quick, that's what years of experience can do for a painter and not a drop on his outfit = pro. It was great hanging out with the Swinton's crew and reconnecting with Milo who gave me my first break at the Sugar Estate Gallery back in the day.
Before and after After Effects. lol. Thanks class for being awesome!

We began the advanced animation portion of the class after a brief review of the principles and functions of how after effects with key framing transform properties. I taught the students how to make their work more professional by using the 5 types of motion. In order to do this I demonstrated a variety of ways to adjust the velocity and behaviour of the keyframes using the graph editor as well as keyframe assistant etc.
We also launched the animated music video/novella I have been working at in my "spare" moments. It is done in After effects with scanned watercolour drawings. Take a look.  I am on the last week of art production for the Aboriginal Youth Animation Project and we are really behind, which is to be expected. Stress levels are rising as deadlines are quickly approaching but I am really looking forward to a long week-end so I can catch up on household chores where needed.

February 11, 2014

Week-end update

It is no secret that every moment of everyday I have something on the go. It has been an exciting week as we quickly veering toward the Holiday of love, I am looking forward to the fact that it is a long week-end and I only have quality R & R planned for once!


AYAP
It is our last week of art production Aboriginal Youth Animation Project. Now the participants are under the gun and are finally exhibiting the type of work ethic needed to be an animation artist. Fingers crossed they can keep up the pace in order to get it done. Our screening isn't until March 30th at the Globe but there is a tonne of post production to do before then, during which they are placed in job internships in a related field. It seems like the time has passed so quickly. After the screening day I'll be out of a job and onto new yet unknown creative adventures.

SNOW DAY
I took part painting kids faces for a Snow Day event.  The room was chaos, 10 ft. away was a bouncy castle I have never really seen kids line up and be so patient like they do when it is time to get their faces painted. I was to busy to snap shots of all the other kids, but I did do some really good ones. The girls got snow flake ice princess designs and my personal best the my little pony unicorn pegasus wings around the eyes like a butterfly, my most popular design. The boys got iron man, spider man, and Silas got a Lego Chimas lion guy, special request. As seen above, this is how it looked after a play session in the snow and bouncy castle and after eating and rubbing it a bit, it held up fairly good.


INTRO TO OIL PAINTING
I took over the acrylic and oil samplers at Swinton's art Supply.  It was a really good class, I am stoked to be using my Sundays at Swinton's educating future artists. I created quite extensive notes for an into to accompany my demonstrations. Hopefully the complexity and perceived expense which causes oils to seem for boding has been melted away. For first time painters the full class produced works to be proud of! I look forward to seeing what they come up with in the future, now that they are off on the right foot.

QUICKDRAW EVENING CLASSES
Both of my evening classes are running at Quickdraw Animation Society. The After Effects is full and we went over our cap!  This group has done far better on the first day than any class I have taught before. I must have honed my teaching skills enough now to really propel the students. Maybe it's not me a t all and they just all get the hang of it. either way I look forward tot eh next 11 evenings to see them transform their skill set. I have a really eager group in my Advanced Animation class who have all taken classes before and can create a walk cycle on day 1. The work load for this class is heavy and very technical but by the end they will have a short bit of finished work and a plan with with to grow their practice as animators. The pic above is Duncan our Technical Director repositioning the classroom and Chris Jones one of my students.

I'm off to get fitted for a suit during my lunch break. even when it's break time I've got something on the go. lol.

Ciao for now.


January 31, 2014

DISTRESSED SIGN PAINTING

I took a week-end workshop at Swintons Art Supply (http://www.swintonsart.com) taught by Rick Janzen of Streamline Studios (http://streamlinestudiosinc.ca)  and a wicked local sign painter in the sense of the traditional trade craft.
We started out finding about the history and Rick told many great stories about his experiences. There were many book references and lots of photos of past work to look at. He introduced us to the tools of the trade and all the materials etc. were included in the workshop fee = wicked!!
I have always wanted to learn the skills of the traditional sign painter in order to better perfect what I hope to do in my work. I've taken up many of the skills, from transferring lettering, hand painting on glass as well as learning airbrush. I've done a few murals and some signage(see earlier blog post or visit my website for reference) Brianbatista.com. 
We rolled out some poster paper and began with layout and design of hand painted signs.  I decided to make a sign that I can use at my comic expo booth or elsewhere I offer custom work.
Then I was lucky enough to get to try out his electro pouncer. This is definitely something I'd love to have in my studio, though at around $500 its a little rich for my blood. for now a luxury item I can try out. It used electricity to burn holes int he paper. How it works is you stick paper to a piece of metal using magnets. The electro pouncer has a ground wire that gets attached to this metal backing. You turn it on and use it like a pen. It pulses out a little arc which burns holes. So cool. A couple of people got shocked, which isn't that shocking, handle with care!
This paper is then put on top of the surface. Take a chalk bag and tamp the surface and the chalk will go thru the little holes and create an outline to follow that can easily be removed. This is a great way to transfer a design. here I am using white chalk but if the surface was light or white I would use crashed charcoal instead.  Once the designs transferred it makes it much easier to paint, plus I still have the pounced paper design if I need to make multiples.
Here it is mostly painted.  It takes a lot of brush skill to do this well. Something that only time and practice and bring, as in any real skill worth attaining. I ran out of time to add other colours and outlines but I do intend on working on the sign more and adding some more decorate elements and maybe some gold leafing before distressing it.
What interested me most about this particular workshop is the DISTRESSING part.  In my sacred images paintings I try to get that aged antique look. Often it is tedious and labor intensive requiring lots of techniques and time. This on the other hand was quick and effective. First we need to age the wood so that the ground doesn't look so fresh. there are so many ways I found online to do this from vinegar and steel wool to what we did, which was way easier, stain it with raw umber paint watered down.
After the initial drying we applied wallpaper paste to the surface. This will act as a resist for later when we begin removing layers. I used this heavy duty dryer to speed up the process. Aesthetically speaking, the wear on a sign would be more around the edges and more around the top due to weathering so more paste should be applied there, the middle would have much less distress. rick gave us many fine examples and ways about thinking about how to distress the work to look realistic.
 Then you put on your design. You can use a variety of transfer methods or go the old fashioned routs and draw directly on it like I did.
I created a second test panel where I painted a letter on a fully painted background whereas the first I chased in the background. I designed this letter B based on an old rosewood style font I have always admired. another transfer method is to rub the back of the paper with charcoal and then place it down and go over the lines on the front. This pushes the charcoal on the back onto the surface with the traced design.
Here they are painted in. I decreased the contrast between the off white and black to show bleaching by the sun. The colours I used are harmonious with one another and are heritage colours.  With little time I raced to paint these in, they are rough but it is not going to matter once the distressing comes into play.
Here they are after I finish with the two distressing techniques we learned. I like them really aged :D
The first method is to use a warm water soak to loosen the wallpaper paste and then using a floor brush or nail brush with short strokes to lift the paint off the surface where the wall paper paste is applied. Its wet, wild and fun and works fantastic.
I love how this lake sign turned out by one of the other participants.  Did I mention these are water based paints but it works equally as well for oil based paints. It is the messiest part of the process which is why we put down black plastic garbage bags.
We also tried block ageing which added to my tests. It is a way to make it look as though the painting is peeling off without having to life the paint, instead you add paint of the wood colour on the top. Here rick is further ageing his sign.I think the more distressed the better, as long as you can still make out what the sign says. It was a fun time and by the end of the class we had some pieces to be proud of!
Photo by Rick Janzen

I am so stoked about what I learned, I am pumped to apply it to my practice. I already have grand ideas and an extensive list of stuff I want to do so be prepared to see some major output in the coming months  after I finish all my teaching gigs and I can get back to the studio. I can't stop thinking about it, so much so I skipped past the remaining El Salvador trip inspiration. If this class comes up and this interests you I highly recommend the course.

Until next time = :D


January 28, 2014

The beach caves near El Tunco

My pal Lupe has been raving about her favourite spot and she has been wanting to visit it in years. We are finally here, and our chance to see it for ourselves….the sea carved caves at the end of the beach near El Tunco.

It is not a far walk down the beach and you get to pass all sorts of hostels, cacti and even another small settlement around another river that seeps out into the ocean like the one that we can see from the cabana at the place we are staying at.

As we get closer the caves seem to open up. There are men wading in the water nearby casting nets into the waves. I have no idea what they are trying to catch. I'm walking in the same waves and nothing seems to be hitting my shins so I really can't say how successful they are. They are there for hours, I'm not sure if they are catching anything.

The first time we go the tide is up a ways, making going into the cave more dangerous as the waves smash in and the back flow can trip you up. I have valuables and my iPhone so I am not going to risk it on this occasion.

Rosco brought his lunch and waded out to a rock to enjoy his food and the magnificent view.

The tide was rising as the sun began setting. We would have to come back another day to enjoy the sea caves more. Ray and I managed to go when the tide was out and the sun was rising the morning before we had to leave.

This is inside the same cave but this time the tide is way out and you can get thru the many caverns in the rock.
 The shapes that open out to the ocean are inspiring windows to the edge of the world.
It was hot and we sat outside on the cave on the furthest point of the outer rock and watched waves roll in. This is super natural inspiration!
Above the caves are fences and a building. I bet the view from up there is phenomenal.
 There is a long staircase that comes down to a pool carved out in the rock. During high tide we couldn't reach this point.
 Looking up form the cave are these softened sedimentary formations.
Here is the view looking back as we depart the beach caves at El Tunco and head for the rock! You really have to go there to see this amazing place in person!